

Bowl Cozy
Sew Along With Us

By Bec Clark
Who here has burned their fingers taking a bowl of reheated goodness from the microwave? Me, definitely me! And you think I’d have learned by now, yet here we are. So, for this episode, I bring you the glorious bowl cosy. No more scorched fingers.
As your bowl cosies will be going in the microwave, you’re best off choosing a medium-weight, 100% cotton fabric to avoid any melting disasters. Lucky for all of us, Cloth Cuts has a fabulous variety of in-stock twill and poplin. Also, choose a wadding/batting made from 100% natural fibres. Some types of wadding contain polyester or scrim (glue), so double-check before you buy.
What you’ll need:
2x 25cm squares of cotton fabric 2x 22.5cm squares of batting made from natural fibre Thread Scissors/rotary cutter Ruler (around 35cm or longer) Fabric pen/chalk Pins Iron and board


How to make your bowl cosy:
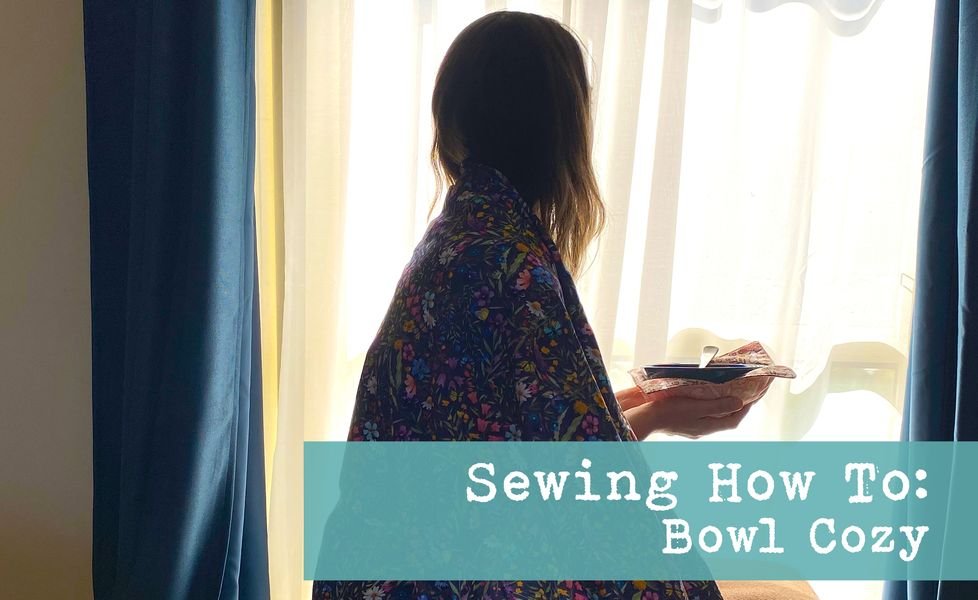
- Centre the wadding squares on the wrong side of each of your fabric squares; pin if needed
- Using your ruler, line up the diagonal corners and mark an X from corner to corner of both squares


- Stitch along your lines corner to corner to attach the batting to your fabric squares


- Next, fold your square horizontally with the right sides facing
- Mark 5cm in and 2.5cm across from each of your folded corners and join the marks. Open, rotate 90° and fold again, repeating the marking. These are called darts and will be your sew lines to give the bowl cosy it’s shape


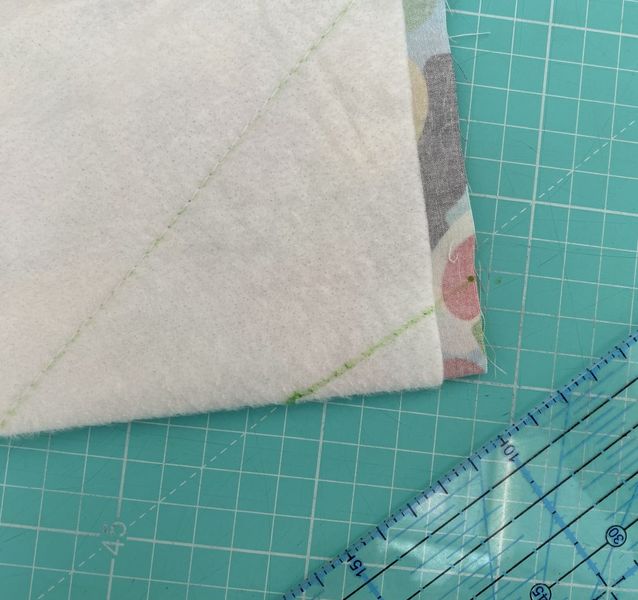
- Sew along these lines, don’t forget to back stitch at the start and end


- Trim the excess fabric from your darts to around 0.5cm


- Turn one piece the opposite side out to the other, and place one piece inside the other, right sides facing


- Pin along the seams, and the corners, if you need.

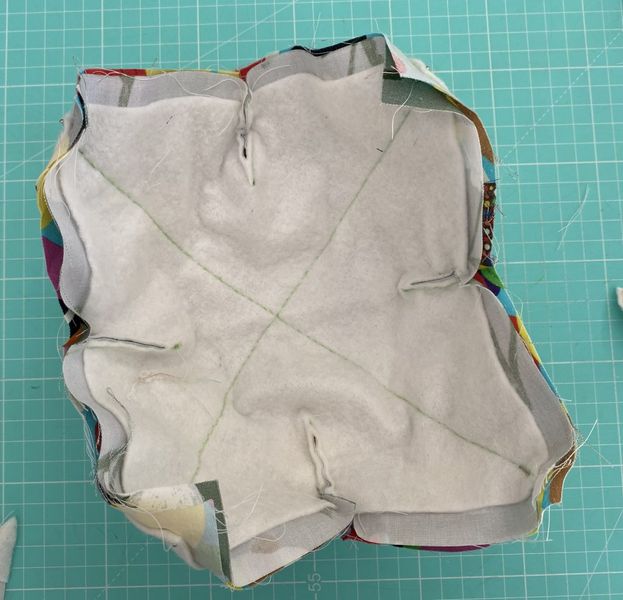
- Mark the gap you’ll need for turning; about 8cm should be enough, depending on how bulky your wadding is.
- Join the pieces together using a 1cm seam allowance. Backstitch and the beginning and end of your sewing, not forgetting to stop for the gap. When you reach a corner or a dart, sink your needle into the fabric, lift your presser foot and pivot your fabric as needed. Put the presser foot back down and keep on going.

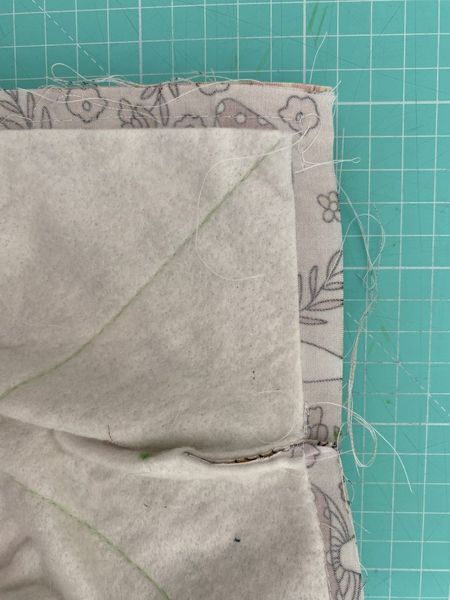
- Snip the excess from the corners to reduce bulk, taking care not to snip into your stitches
- Poke the right sides through your gap to birth your bowl cosy. Use a pointy but not too sharp object to help poke out your corners
- Give your bowl cosy an iron to help crisp your corners and press the fabric from your gap neatly in, if your feel so inclined
- Top stitch a few mm in from the edge around your bowl cosy to close the gap. And you are now saved from burning your fingers on microwaved goodness.

That’s it! You are done.
I’m thinking this holiday season these beauties would be perfect to whip up to give as gifts, made with love. They are super quick to make and don’t take a lot of fabric. And, as a bonus, they are reversible!