

Christmas Crown
Sew Along With Us

The perfect project for making Christmas a little more eco-friendly.
Christmas is just around the corner, so get ready for an overload of gifts, tinsel, decorations, hearty food and plenty of time shared with loved ones!
(Don’t forget about the Mariah Carey & Michael Buble songs too…)
Every family has their own traditions for this time of the year – but for us – we have always loved getting together for a big lunch, and then each getting out the paper crowns, jokes and little toys from our Christmas crackers as we spend time chatting and enjoying each other’s company.
Before we’d decided as a family to become a bit more eco-friendly with what we buy and use, we’d never really thought much about all the rubbish left over after all of the festivities were said and done.
Let’s face it, there’s a lot – wrapping paper (that usually isn’t reused), cardboard, tape, plastic packaging from opened presents and decorations, as well as all of the paper & plastic food waste items …
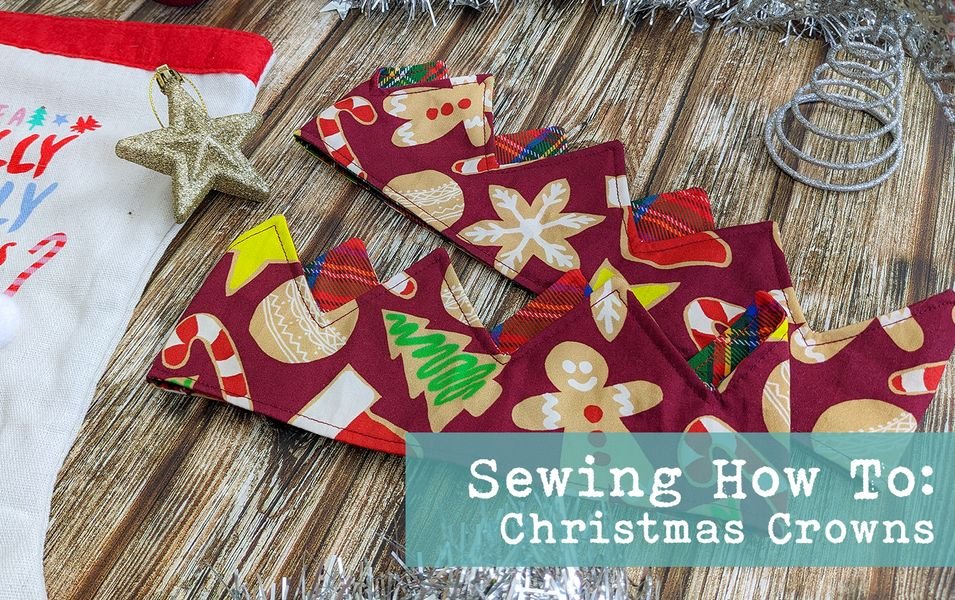
So in an effort to combat some of this wastage; here is a tutorial that will guide you in making your very own fitted and reusable Christmas Crowns that you’ll be able to share with the whole family and won’t have to throw away when you’ve finished using them!
They come in both an adult and child size, and are held together by a thick elastic at the back (to facilitate some growth of the head).
The elastic also helps to give you an individualized fit for each wearer.


If you don’t like the fitted style you can also self hack extra length to it (in the form of a tail) and apply KAM snaps to make it a OSFM pattern OR even add some ribbon so you can tie to adjust as needed.
The real beauty of this one is that it’s reversible and you can use a single print, or two!
OR use a Christmas print for one side and non festive theme for the other – this means that when Christmas is over you and your children can still use the crowns for dressup’s and role play.
So let’s get started, shall we?
What You’ll Need:
- Woven Cotton Fabric x 2
- Interfacing
- Thick elastic (I used ribbed elastic because it was all I had, but if you are wanting more stretch I would recommend using a thick braided or knitted elastic instead).


How To Make Your Crown:
Print out the pattern in this tutorial and assemble as instructed.
For reference, the crown should measure: Adult Height/Length: 4.5 cm/53.5cm OR Child Height/Length: 4.5 cm/46 cm Note: These measurements do not include the points of the crown.
As it is basically a rectangle shape, these measurements can be adjusted if required.
If you prefer to cut on the fold, this pattern is perfectly symmetrical – allowing you to do so as shown above with my drafted pattern. Just fold your pattern in half.

Use the pattern to trace and mark your sew line on the wrong side of one of your woven cotton pieces. Ensure you mark out the turning hole on one end of the crown. Then cut around the crown leaving plenty of room to be able to sew on the marked line. If you are using a directional print, ensure you have this the desired way. (This pattern does not include a seam allowance, as I found it easier to cut rectangles around the sew line for quicker cutting of layers (see above), but if you want to minimize as much fabric waste as possible you may add it in – just add a cm around your sewline)

Once you have cut this out, get your next layer of woven cotton or interfacing.
Whichever layer you choose, simply lay your original cut on top (with the traced sewline) and cut around it.
You can then repeat this step with the last fabric piece.
Once you are done you should have three layers in all the same size cuts – both woven pieces and your interfacing.
Now that you’ve prepped your fabric it’s time to layer them on top of each other and clip together.
The order of your layers should be:
Bottom: Interfacing
Middle: Woven (right side facing up)
Top: Woven (right side facing down) (sew line should be visible to you).
Line up the edges and clip/pin it all together.

Start sewing (make sure to backstitch or use a lockstitch every time you sew from or end up at each turning hole) from one of the points near the turning hole on either side of the crown.
I use a walking foot just to make sure nothing moves, but it’s not necessary, especially with such a large sewing allowance.

Once you reach the end (don’t close the turning holes) stop, and then start on the other side and sew.
As you can see in my example I have marked some extra fabric for my turning holes. This extra fabric will be tucked in later and will give your elastic some extra strength once sewn, so leave a bit of excess in this area.
Once you’ve finished sewing you should have the bottom and top of your crown sewn shut. Trim any excess thread.
Now you can go ahead and trim off your seam allowance using scissors or pinking shears. When trimming the points of the crown and corners, snip and trim to make turning easier and the points more prominent once turned.
Be careful not to get too close to your sewing line.
You can now turn your crown. If you have done everything correctly, your interfacing should be wedged between the two woven layers.
Use a turner or something pointy (such as a chopstick) to get right into the points of the crown and push them all the way out.
Your crown should be almost done!

Now you can fold in the excess fabric at one turning hole – this is where you will insert your elastic and sew it in.

Ensure you have selected matching threads for both pattern sides before you start topstitching, especially if you are doing two different prints.
Slide your elastic into the slot so you’ve got a bit of overhang in and clip in place, then start sewing over it (make sure you sew back and forth a few times in order to secure the elastic) and continue along to topstitch the bottom of the crown.

Stop your top stitch once you reach the other turning hole.
Now you are going to insert the other end of your elastic – similarly to how you did last time – but this time you are also going to measure and mark on the elastic where the crown sits comfortably around your head.
Hold the elastic and wrap the unfinished crown around your head. You want it sitting firm, but not too tightly. You also don’t want it to be too loose.
Once you’ve got it at the desired length, hold it with your finger and then mark that point.
You don’t need to be perfect with this measurement either.
You’ve got your elastic for stretching, and as long as it’s not so loose it’s falling down your head – it should fit fine, and have some room to grow!

Now that you’ve marked your correct elastic length you can cut it, but make sure you leave a bit of overhang to insert into the other end of your crown.
Once you’ve inserted your elastic, sew it securely in place like you did with the other side and then continue to topstitch the points of the crown until you have finished!
Once you’ve completed the topstitching you are officially done.

You have now made your very own reversible and reusable Christmas Crown!
They are the perfect accessory and will be sure to get a lot of compliments from others when the big day arrives.
No one will believe how easy they are to make and you can hold onto them for many years to come!
Consider adding an extra bit of festive flair this Christmas by making a matching outfit to go with your crowns – I promise they will look stunning together.
Also check out the Cloth Cuts website for more holiday prints & bases, as well as to see the wide range of other FREE patterns and tutorials available for your makes!
I hope everyone has a fabulous Christmas this 2022 <3

Bonus Tip – OSFM Crown w/ Snaps (or if you don’t have snaps, use a ribbon on each end of the crown and tie it off to fit your head)
If you would like to hack this crown into a OSFM pattern, it can be done, but you’ll need some KAM snaps.
Simply add a tail to the original pattern, as shown in the image provided.
How much of a tail you add will depend on the range you’d like to get so that’s totally up to you.
Once you have sewn your layers together you’ll mark a single small turning hole, and then turn your fabrics right side out.
Topstitch and close the turning hole.
Use your modified pattern for snap reference, mark and then apply your snaps.
Black circles: Socket snaps (facing towards the back of the head).
Yellow Circles: Stud snaps (facing away from the back of the head – they should meet the sockets.
And there you have your OSFM hack!