

Drawstring Backpack
Sew Along With Us

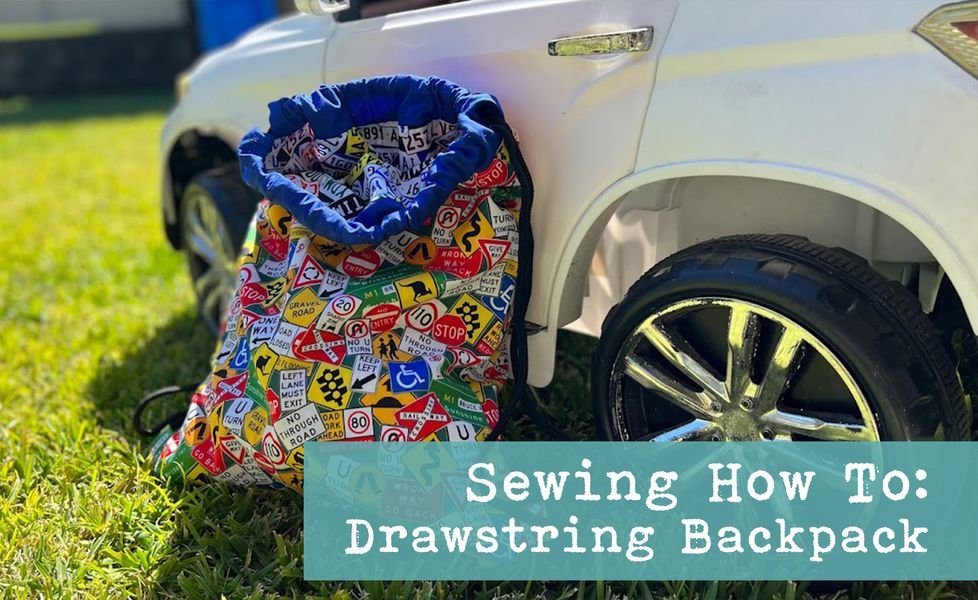
Sure you’ve probably seen these guys hanging off the shelves at Kmart, but have you ever wanted to make one in a fabric that’s actually nice? Well, with this quick and easy tutorial, you’ll be making backpacks for everyone.
This bag is lined AND if you add the second lot of tabs like I do below, it can be reversible! So not only will you have a cute bag at the end, you’ll also be able to showcase two amazing prints.
Alright! Let’s get started!
What you need:
Fabric: Use a woven base for this, try twill, poplin or canvas Main fabric (4x 35cm x 40cm) (I used two different prints to make this bag reversible) Tabs (4x 10cm x 10cm) Rope Channel (2x 40cm x 10cm) 3m Rope (cut in 1.5m lengths)


How to make a reversible (lined) drawstring backpack:
- Hem the channel short sides to make the total length to 33cm down from 40cm
- Fold and Iron with the wrong sides together. Put aside.


- Take the tabs and fold them in half and iron. Unfold. Fold the sides in so that they meet at that original fold/ironed crease and then fold in half again. Iron down.
- Pin and sew along the long edge to encase the raw edges in the tab


- Matching the tabs to the body print, take one piece and baste the tabs in place on the bottom left and bottom right corners (but still on the sides)
- You will need to do this to the second print as well (or just ignore this step if you’re not making the reversible option)


- Take the two pieces of the bag body in matching print and with the good sides together and tabs facing in, sew 3 edges (2 sides and 1 bottom – leave the top unsewn)
- Do this again with the second bag body print BUT leave a gap in the bottom stitching big enough for turning (approx 10cm)


- Turn the fully sewn bag body to be the right way facing out and feed inside the turning hole bag. Creating a pouch that has the good sides facing each other.


- Feed the channel into the bag between the two body prints, ensuring that the raw edges are out and its sandwiched in place. Pin and sew.


- Flip the bag through the turning hole so that it is a long tube, sew the turning hole closed. Feed one part of the bag back inside the other so that you now have a fully lined bag with the channel at the top


- Top stitch the channel in place on the printed bag body side


- Thread one length of rope through the channel and then back through the other channel so that you gave both ends of the rope are on the same side.
- Repeat with the other rope but on the other side of the bag so that you have the loose ends on the other side to the previous step


- Feed the rope through the tabs and tie them together (you will need to untie them if you wish to reverse the bag at all, untie and retie to the other print tabs.


And that’s it! Another quick and easy sew that makes for great library bags, swim bags, gym bags, toy bags, adventuring bags (should I continue or do you get the picture now). As always we would love to see your bag creations so please post them on our Facebook VIP page for everyone to see.
Until next month, Happy Sewing! Michal

