

Easter Bunny Bags
Sew Along With Us

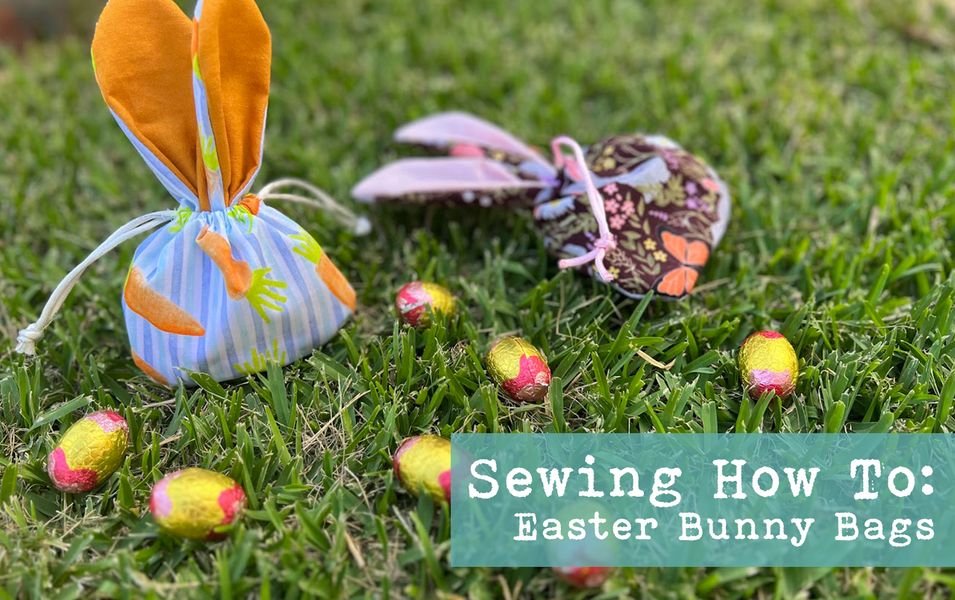
Easter is fast approaching and with this being Tim's first year at school, he asked if we cold give his friends some Easter eggs. And of course me being me, I had to go hard (or go home).
Enter Easter Bunny Bags
This is a ridiculously easy sew, where the hardest part is threading the ribbon or rope through the tiny hem. But once you get the hang of it youll be making a class worth of baggies before you know it.
I found this pattern and its own tutorial on the Sew Can She website, but have explained it all below in my own words.
What you will need:
- Fabric (I used poplin and twill, but any scraps you have will work) OH! and don't worry about easter print theming it, the fact that the bag has ears is cool enough!
- Contrasting fabric for the inside of the bunny's ears
- Thin rope or ribbon (approx 30cm x 2)
- This printable HERE


What you need to do:
Taking your fabric, cut out 4 squares (5" x 5" OR 13cm x 13cm). Cut 3 of the printed fabric and 1 contrast.
Pair the fabrics with right sides together and trace one the template. So that you have the ears drawn on one, and the pouch body on the other. DO NOT cut on these; these lines are for sewing on.

Sew along the pencil lines. On the bag body, you can either overlock it or finish it with pinking shears.
Cut out the ears with pinking shears and flip to be the right side out.

Fold the raw ends of the ears over a bit so that they create a curved ear base and clip

Fold over the edge of the bag, and then fold over again to create a neat hem. Make sure the hem is big enough to accommodate your rope/ribbon
Clip the ears in place on the bag (tuck it into the hem you just folded). Make sure the ear insides are facing the bag

Sew the hem in place


Flip the bag to the right way out.
Snip little holes in the side seams of the hemmed area. Taking your rope/ribbon and safety pin, feed it through the channel you've created. All of the way around and then back out of the same hole. Knot these ends together.
Repeat the last step again but from the other side of the bag.
Note: I tried the bag with just a centre hole and rope through once and was not impressed with how it turned out, so make sure you do the loop it back through on each side method

