

Heat Pack
Sew Along With Us

By Bec Clark
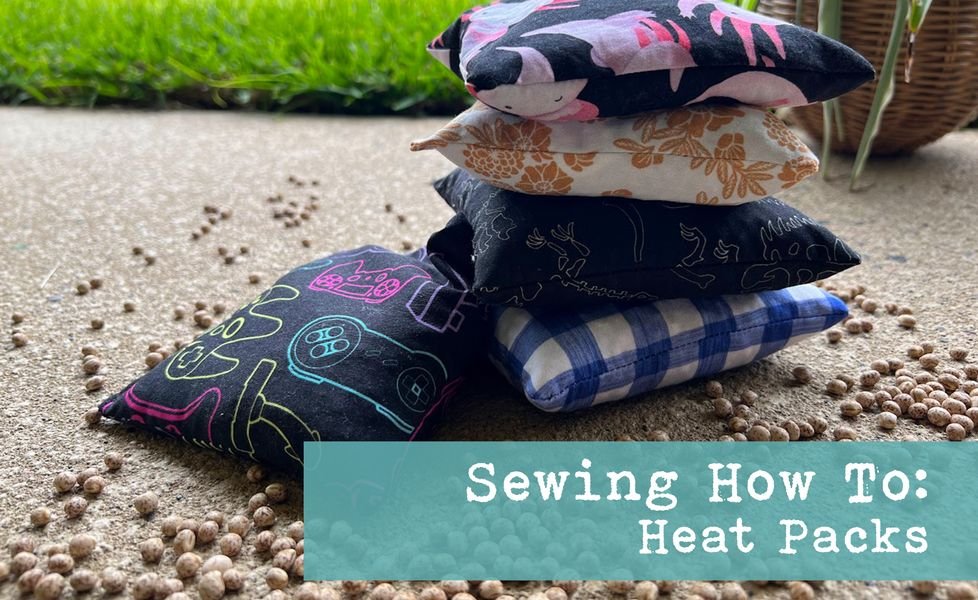
Make your own heat pack this winter (and they also double as ice packs!)
It’s officially winter here and my children and I are massive sooks. We love our snuggly blankets and a heat pack is the perfect addition.
My little ones prefer a smaller size for keeping their hands warm and my eldest enjoys a longer snake shape to drape over him in bed for warmth and comfort, kind of like an arm. The best thing about making them yourself is, that they can be any size or shape you like!
The smaller size bags are also just right for sealing in a plastic zip-lock bag and popping in the freezer as a cute cold pack for bumps and bruises. DID YOU KNOW!? By using lupin in your heat packs you’re using a much better alternative to the traditional wheat or rice packs?
Lupin is easily purchased from your local farm produce store and is incredibly cheap at roughly $2/kg (though I will admit I ended up purchasing the 20kg bag for $23, I guess everyone is getting heat packs for Christmas this year).
Lupin has a number of awesome features too! Like did you know that lupins create little to no odour when heated? That means there wont be any burnt wheat smell whafting through your house every time you zap your favourite heat pack. AND lupins are happy to go in the freezer for an easy cold pack option (just make sure you put them in a sealed snaplock bag first). They’re also 30% lighter than the traditional heat pack fillings and retain their heat for longer and don’t sweat so you wont end up with a soggy-smelling bag after a few uses.
When you’re choosing your fabric for this make, make sure that it is 100% cotton as your heat pack is going in the microwave and being heated thoroughly. Synthetic fibres are more likely to overheat and melt, so avoid them and stick to the cotton bases. e.g. Cotton Canvas, Cotton Twill, Cotton Poplin.


Lupins are a great alternative to the traditional wheat/rice
What you’ll need:
Woven cotton fabric Sewing machine Thread Scissors or rotary cutter Ruler Funnel (or if you don’t have one, make one like I had to – instructions below) Lupins for filling
How to make your heat packs:
Cut a rectangle twice the size of your desired heat packs. I used 14x26cm for the hand warmers and 32x45cm for the longer snake size. Alternatively, cut two rectangles – just keep in mind you will need to sew along all 4 sides with a small gap for turning and filling.


Fold in half with right sides together and sew around, leaving a 1cm seam allowance, leaving a gap for turning and filling, as pictured. Don’t forget to backstitch at the beginning and end, and also on either side of your turning hole.

Turn your bags right side out and poke out your corners.
Insert the funnel into the gap you’ve left and fill it to the desired level.
(Funny story…. I’ve recently moved house, and for the life of me, could not find any of my funnels. I think searching for a funnel turned out to be the longest phase of this whole exercise. Not to be discouraged, I chopped into a clean, empty soft drink bottle and made do. Just make sure your turning hole is big enough to accommodate whatever you end up using.)

Sew your heat packs shut with a stitch across the top, taking care to push any of your fillings away from the needle.
Voila! You’re done! Ready to use in the microwave or the freezer inside a plastic bag. As always, exercise caution and common sense when heating anything in your microwave. Smaller bags take less time to heat, and larger ones may require bursts of no more than 60 seconds a time, redistributing filling in between.


And that is all there is to it. You can make as many as you need so you don’t have to share, in all of the gorgeous prints