

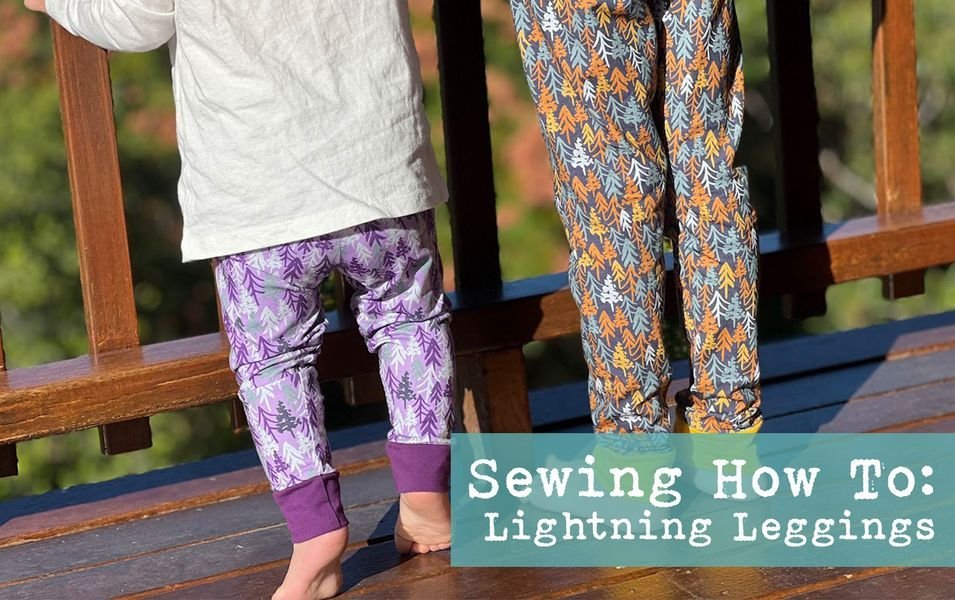
Lightning Leggings
Sew Along With Us

It's finally started cooling down here in Brisbane, and with the change in weather, I've also realised that Mr 5 has had yet another growth spurt (which means none of his winter stuff from last year fits anymore).
So I did what any sewing mumma does, and I dug out some Cotton Lycra, set up my projector and made some Lightning Leggings! These leggings are legit "lightning" fast to sew up. So you could easily whip up a handful in half an hour sew session. And, of course, the pattern is available from our amazing friends over at Waves & Wild - oh, did I mention it's FREE!?! Cause it is! Here's the link to download your own copy. HERE!
It comes with four downloadable PDF files; instructions, a print-at-home pattern, copy shop pattern and a projector pattern. Don't forget to check out the photos attached to the listing (you might spot a few sneaky Cloth Cuts prints too)
Waves & Wild have done a fantastic job with their instructions on how to sew the leggings together, so I won't be offended at all if you decide to ignore the following tutorial and just follow the PDF instead. But in case you want to sew along with me, here's my version!


What you'll need:
- Cotton Lycra or French Terry (a fabric with four-way stretch and decent recovery)
- Elastic (if you're doing the elastic waist option)
While the finish is better with an overlocker, it's not required. You can 100% do this sew with a normal sewing machine.
What to do:
Using the free patterns you've downloaded. Decide on your style, length and size. Then trace and cut accordingly.


I've done the slim fit (disposable nappy), elastic waist, with leg cuff option here (but I don't show you the cut-out leg cuffs until later - whoops!).
With the right sides together, line up the top crotch seams and sew them together.

Shift the pants around so the legs align with their other side (creating two legs like this), and then sew down the inner leg seam.


Taking the cuffs, fold them (right sides facing) so the short sides are together and sew down the short side. Then you want to fold this back on itself, wrong sides together.
Feed this cuff inside the pant leg with good sides together. Align all of the raw edges and clip them in place.


Sew these edges together in a big loop - be careful that you aren't closing the pant leg up, but instead, just adding a cuff. Don't forget to finish off the threads (if it's sewn with an overlocker, feed it back in on itself and cut excess off).
Flip the pants to be the right way out now and pop aside.
Take your elastic (length as per pattern) and sew ends together to create a loop/waistband with a zigzag stitch.

After marking the four corners/halves of the elastic, pin it to the inside of the pants waistband area. It's done like this so that when you fold over the top of the pants to the inside, the elastic is pretty much hidden.
Sew the elastic in place using an overlocker or zigzag stitch. You may need to stretch it a bit as you sew to make sure there aren't any folds in the fabric.

Then fold over the elastic to the wrong side of the pants, almost creating a casing for it all. Sew this down (make sure you use a zigzag or twin needle stitch so that you can still stretch the elastic when getting the pants on and off)

And that's it!


