

Mini Wetbag
Sew Along With Us

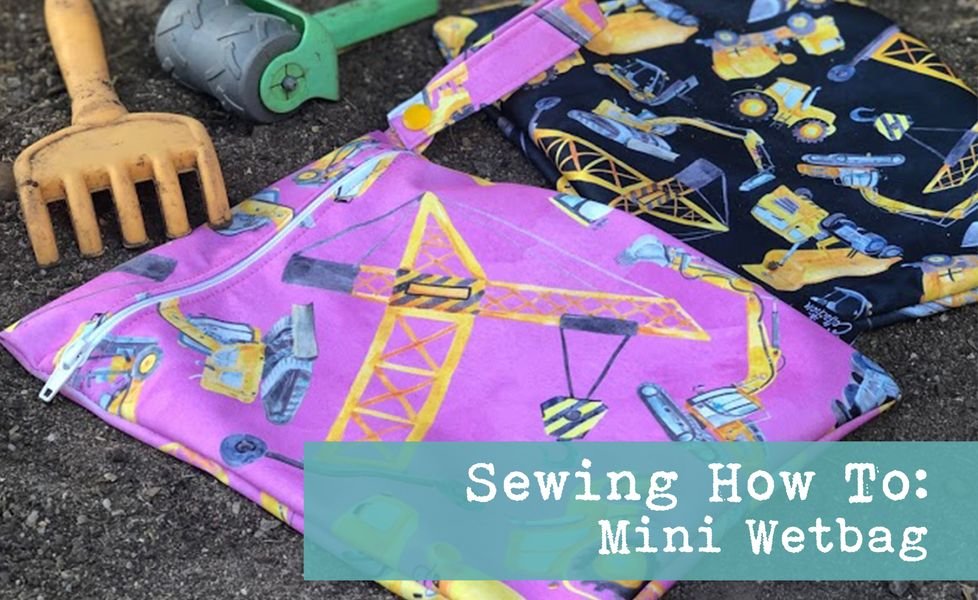
To start off our exciting year of tutorials we thought we would put together another Miccy’s Collection wetbag tutorial. This time we’d like to introduce you to the Miccy’s Mini Wetbag! I always found this bag a super handy size, great for a change of clothes (or storing away wet/soiled ones), storing some out and about colouring activities and as always, toys. But the lined option allowed for a very minimal leak option when it came to bringing home wet swimmers after Mr 4’s swimming lessons.
Please note: this tutorial will be for a lined wetbag, if you aren’t wanting to do the lined option then just omit the parts that mention the lining.
What you will need:
- 3x rectangles of PUL measuring 21cm x 24cm (front piece), 21cm x 32cm (back piece), 24cm x 6cm (handle) (Other fabric bases will work fine too)
- If you wish for the bag to be lined, cut out 2x rectangles of a matching colour/print
- Zip and Pull (approx. 20cm in length)
- Matching thread
- Sewing Needle appropriate for the base you decide on
- Ruler
- Marking pencil
- Wonderclips
How to make a Miccy’s Mini Wetbag:
Once you have cut out the 3 rectangles of your printed fabric and 2 rectangles of your chosen lining, find the smaller rectangle. This will be the handle. Following the steps in the Micro Wetbag tutorial, fold and sew your handle. With the handle finished, grab the matching sized rectangles (1x print, 1x lining) and lay them with wrong sides together.
Take your zip (with the pull removed), and with the rectangles with the printed side up, place the zip face down along the top edge. Clip in place, and sew down. Now take the other rectangle pair and position the zip’s unsewn edge so that it is face down on the top edge. Clip in place, and sew down.


Open the rectangles so that the zip is visible, and sew down using a zipper foot. Do this on both sides of the zip, then thread the zip back onto the thread. And leave it positioned in the centre of the bag.


Fold the wetbag so that the pattern sides are facing each other and the bottom edges are aligned. Clip/pin in place. Feed the handle inside the wetbag positioned just above the zip, with the raw edge on the left side. Sew the zip and handle down. By sewing the zip in place it creates a reinforcement and stops the zip pull from sliding off the edge. Sew down the other side making sure not to sew down the handle.


Sew/overlock along the bottom edge, then again on the side edges, creating an enclosed rectangle. With the overlocker ends, cut shorter and then using a thread turner hook, pull the ends back in on themselves inside the seams. Trim off any excess.


For extra reinforcement, I now sew down the zip again before opening the bag. Then just flip the bag back to the right way around and add snaps to the handle.


