

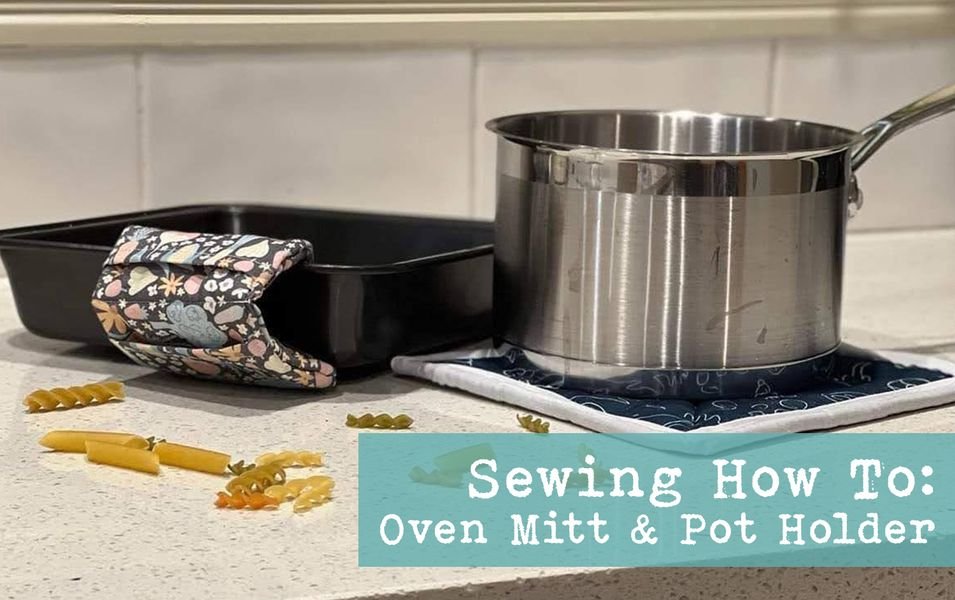
Oven Mitt & Pot Holder
Sew Along With Us

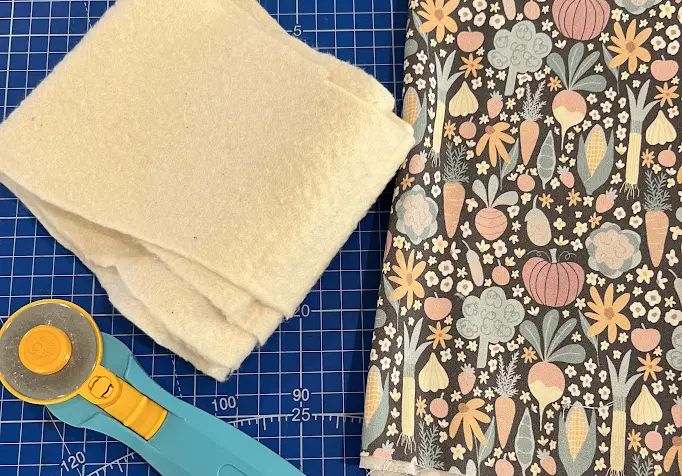
For this tutorial, I raided my mum’s (the quilter) stash of wadding offcuts. They were the perfect size and being 100% natural fibres there were PERFECT for these makes. And of course I got to use up some of my own woven scraps. So enjoy this little tutorial and whip up your own kitchen accessories.
Mini Oven Mitt
What you need: – Fabric (100% cotton) (Shop Veggie Patch Grey – Ashleigh Fish HERE) – Wadding (100% cotton / Natural fibres)

What to do:
Cut two rectangle of your wadding and two rectangles of your printed fabric to 20cm x 12cm each. Cut an additional two rectangles of the printed fabric to 10cm x 10cm


Fold over one side of the smaller rectangles twice, and sew in place Repeat for the second smaller rectangle


Place the smaller rectangles onto of one of the large rectangles, good sides facing up. With a long stitch, sew around the outside so that the pockets don’t shift.

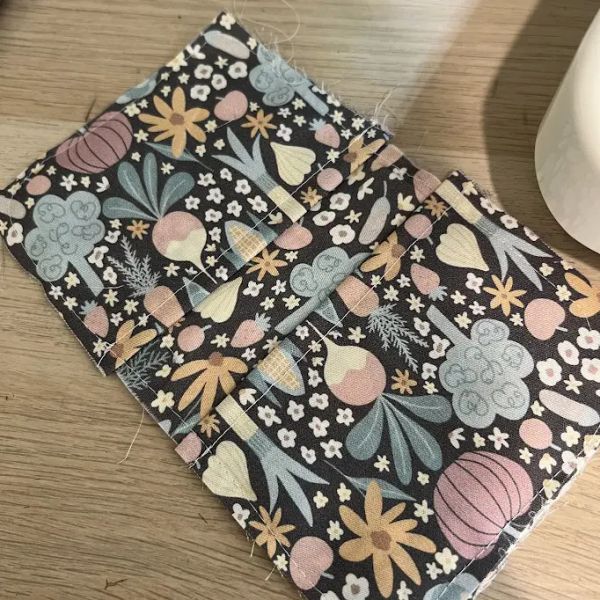
Layer your 4 rectangles now as – wadding, 2 prints with good sides together and finally the wadding. Sew around the outside of the pile, but make sure you leave a turning hole Trim any excess fabric

Turn the mitt through the hole to be the right way around, making sure that the corners are all sitting nicely. Sew a single line down the middle of the mitt to keep everything in place.
Pot Holder
What you need:
- Cotton Woven
- Bias Binding
- Wadding (100% natural fibres)
- Chalk for marking on fabric


What to do:
Cut out 2 squares of the woven and 2 squares of the wadding to your desired size Take the woven pieces and align them with good sides facing, then add the wadding to each side of the woven Sew around the outside, leaving a turning hole


Feed through the turning hole to have the woven fabric showing. Tuck the raw edges back inside Take your bias binding, open it up and pin it around the edge of the pot holder and sew in place
OPTIONAL: Take an additional, shorter piece of your binding and sew it down on itself to create a loop for the pot holder to hang on. Then add it between the binding and pot holder, before you sew it down

Fold the binding back over the edge of the pot holder, and sew down to complete the binding
Mark out on your pot holder where you would like your quilting lines to be. I used a white pencil for this so that I could see it easily, chalk would have been a fantastic option too.

Sew along the quilting lines and then you’re done!

